Strip Dimension
Define the dimensions of the strip (such as strip width, margins, start margin, and number of steps) and specify strip carrier requirements.
Requirements
- Active if Nesting has been completed.
- Progressive die quotes only.
- Strip environment is activated.
Note: You can edit the strip dimensions by re-entering the function and editing the parameters, as required.
Process
- Click the button in the menu on the right hand side of the graphics pane to open the function.
The Feature Guide is shown here:
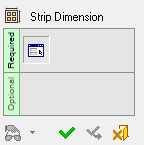
Tip: You can open the Feature Guide at any time by right-clicking the mouse in the graphic display area.
- Required Step 1: Set the strip parameters. The following parameters are displayed:
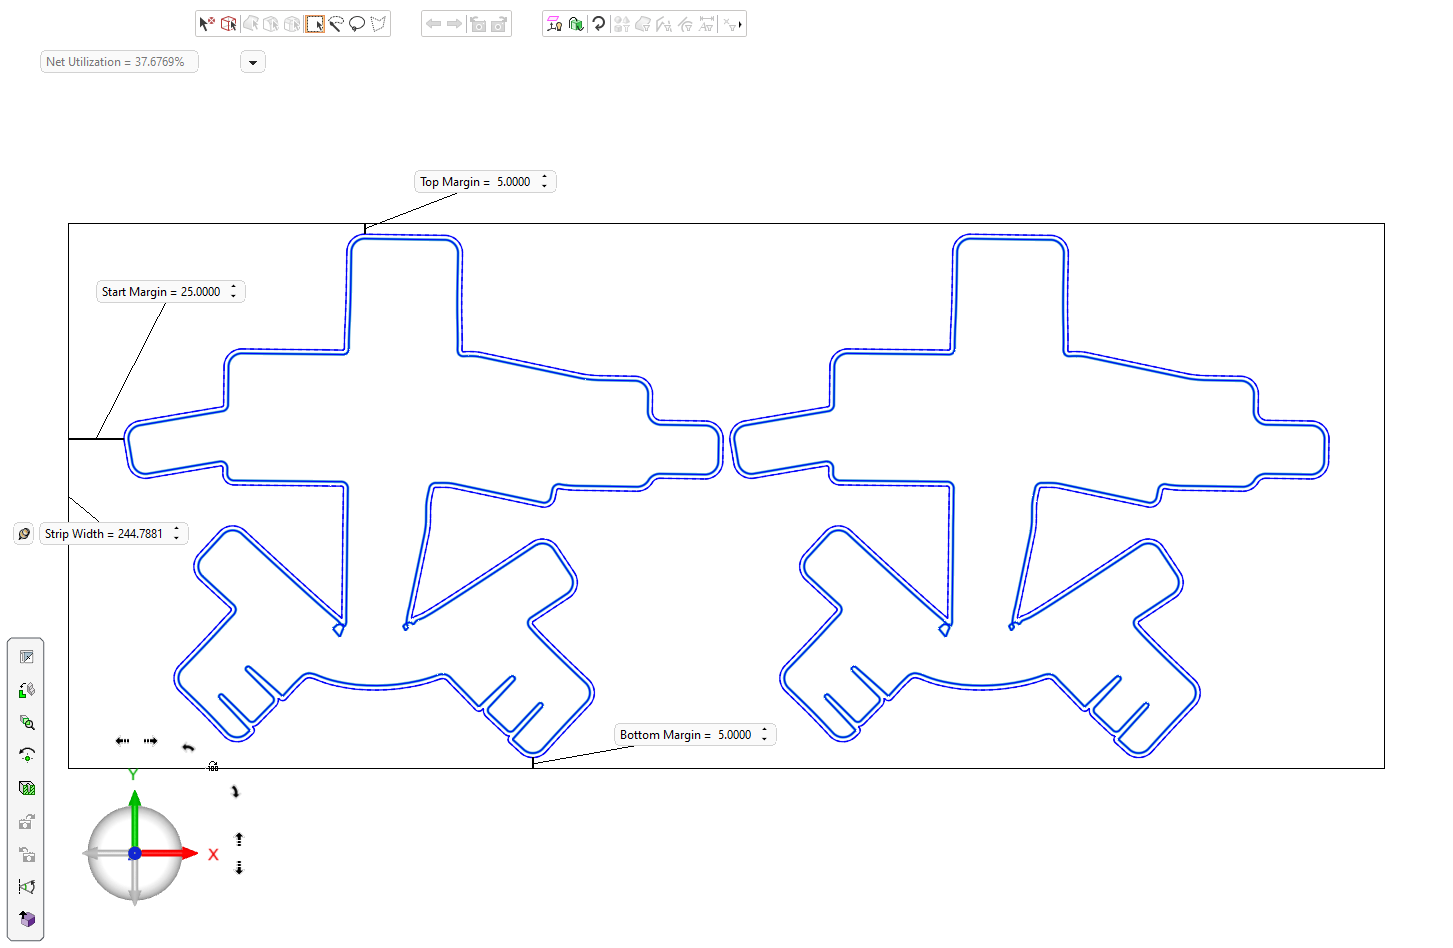
-
Set the parameters:
Net Utilization
The net nesting utilization according to the selected shape and parameter settings. This parameter is system calculated (read only) and is the ratio between the area of the blank (the gross area including holes) to the strip area (in percentages). This data is defined from the Nesting operation.

Toggle the parameters expand/collapse button
/ to display the following predefined nesting parameters: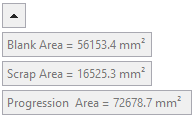
Blank Area
The blank area according to the selected shape and parameter settings.
Scrap Area
The scrap area according to the selected shape and parameter settings.
Progression Area
The progression area according to the selected shape and parameter settings.
Strip Width
This displays the width of the strip bounding box. Changing this parameter affects the top margin and bottom margin so that any change to it is divided between them evenly. This means that if the strip width is enlarged by 1 mm, the bottom margin and top margin will be enlarged by 0.5 mm each.
This parameter is displayed with an attached Fix/Float button (
 /
/ ).
).If the button is set to Fix
(this is the default setting), this means that any changes to the top and/or bottom margins does not affect the strip width (a change to the Top Margin will be at the expense of the Bottom Margin and vice versa).If the button is set to Float
, this means that any changes to the top and/or bottom margins does affect the strip width.Start Margin
This controls the distance from the left or right side of the strip (depending on the Left to Right / Right to Left toggle button setting) and the bounding box of all the blanks.
If the Strip Length parameter (see above) is displayed with an adjacent green button
 , any changes to the Start Margin value will be at the expense of the End Margin. The End Margin value cannot be 0; any changes to the start margin that would have resulted in a negative end margin value, causes the number of progressions to be decreased. Conversely, if the End Margin value is large enough to accommodate an additional progression, the progression is added.
If the Strip Length parameter (see above) is displayed with an adjacent gray button
 , any changes to the start margin value affects only the Start Margin.
Minimum value = 0.
Top Margin
This controls the distance from the top (+Y) end of the bounding box of all blanks, to the top end of the strip.
Depending on the Strip Width Fix/Float button status (see above), any changes to this parameter may either affect the strip width or will be at the expense of the Bottom Margin.
Minimum value = 0
Maximum value = until the bottom margin = 0.Bottom Margin
This controls the distance from the bottom (-Y) end of the bounding box of all blanks, to the bottom end of the strip.
Depending on the Strip Width Fix/Float button status (see above), any changes to this parameter may either affect the strip width or will be at the expense of the Top Margin.
Minimum value = 0
Maximum value = until the top margin = 0. -
Click OKOK
 or ApplyApply
 in the Feature Guide to complete the function.
