Zebra Shading On/Off
Turn Zebra Shading On/Off. This function is useful for visual smoothness assessment.
For more on setting the stripe colors, see Zebra Shading Settings below.
Zebra striping is a diagnostic shading technique used to visualize curvature on smooth surfaces. It simulates the visual effect of placing an object in a tunnel lit by parallel rows of lights. The Zebra Shading tool is available in the following environments: Part, Assembly, and NC (including Part mode).
This feature analyzes the smoothness of a part, and allows you to ensure G2 continuity. Black and white stripes are projected onto the model to identify even the smallest deviation on a surface or set of surfaces.
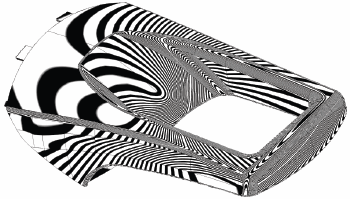
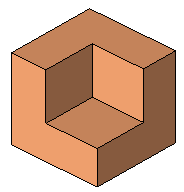
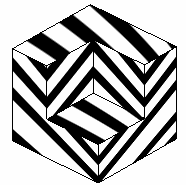
- Open the Zebra Shading function. The shaded object appears as follows:
|
Zebra Shading Off: |
Zebra Shading On: |
|
|
|
Zebra Shading Settings
-
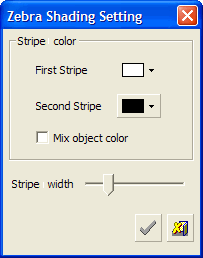
Run the Zebra Shading Settings function. The following dialog is displayed:
-
Define the colors for each stripe by selecting an option in the dropdown color boxes.
-
Mark Mix Object Color checkbox to mix the color of the object with stripe colors.
-
Slide the Stripe Width arrow to change the width of the stripes.
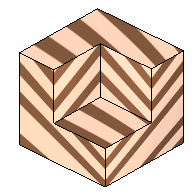
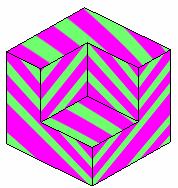
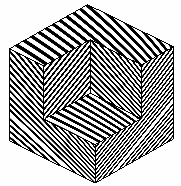
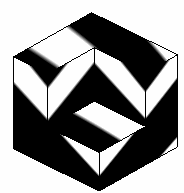
The following examples show the different zebra shading effects on an object:
|
Stripe Color: |
Stripe Color: |
Stripe Color: |
|
|
|
|
|
Stripe Color: |
Stripe Width: |
Stripe Width: |
|
|
|
|